How to create a hyperlapse in 4k with mavic air 2?
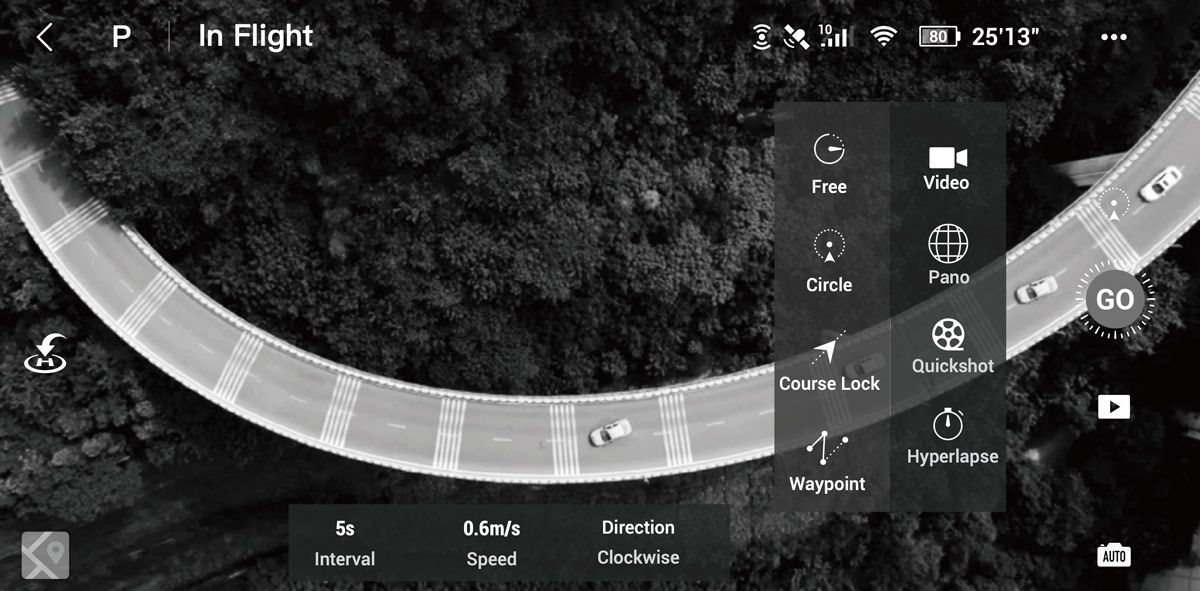
DJI Mavic Air 2 has a built-in automatic hyperlapse mode that allows you to automatically create a hyperlapse video in 1080p resolution (with an interval of 2 seconds or more) or 8K resolution (with an interval of 6 seconds or more, so I think it's useless). Unfortunately there is no 4K option. However, if we choose 1080p, we can switch on saving hyperlapse photos in the RAW format (12mpx 4000x3000) so that we can create a 4K hyperlapse video in Final Cut Pro X with better stabilization ourselves.
* It's just quick advice, not a full tutorial :)

Hyperlapse mode in DJI Fly App
1. Create hyperlapse
Record a hyperlapse using the automatic hyperlapse function with DJI Mavic Air 2. Select the 1080p mode and enable RAW saving in the camera settings. In my example I used the 2s interval with course lock mode and took 400 photos.

Adobe bridge --> Camera RAW
2. Open all DNG files in camera RAW
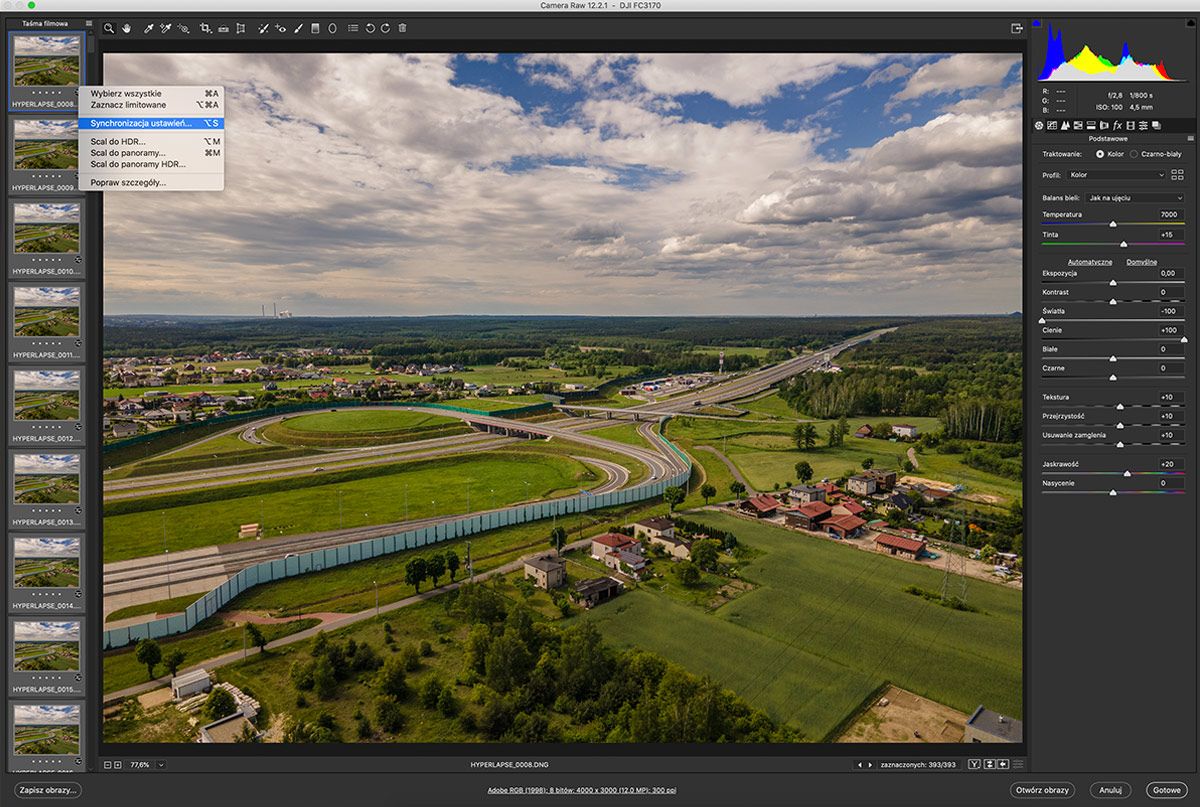
Open Adobe Bridge, select all DNG files from the Hyperlapse directory, right-click and open them in the camera RAW. Fine-tune the first photo, select all photos, sync settings, and save all files as jpg.

Final Cut Pro X
3. Load image sequence to final Cut Pro
- Open Final Cut Pro X and create a new library
- Create a new project in a resolution of 4000 x 3000
- Import all JPG images
- Select all imported images and place them on the Timeline
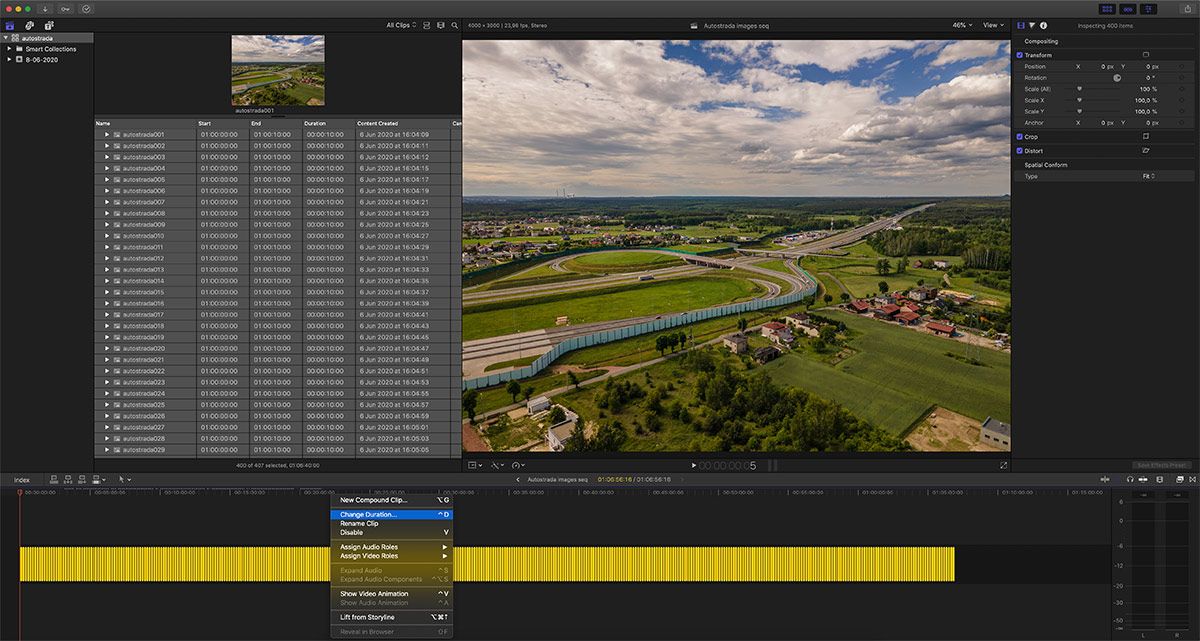
- Select all images in the timeline, press control+D and change the duration to 1s
- Press Cmd + A in the timeline to select all files, right-click and create a new compound clip
- In the Final Cut Pro X share menu, Export Video as Master File

Final Cut Pro X
4. Create 4K Hyperlapse in Final Cut Pro
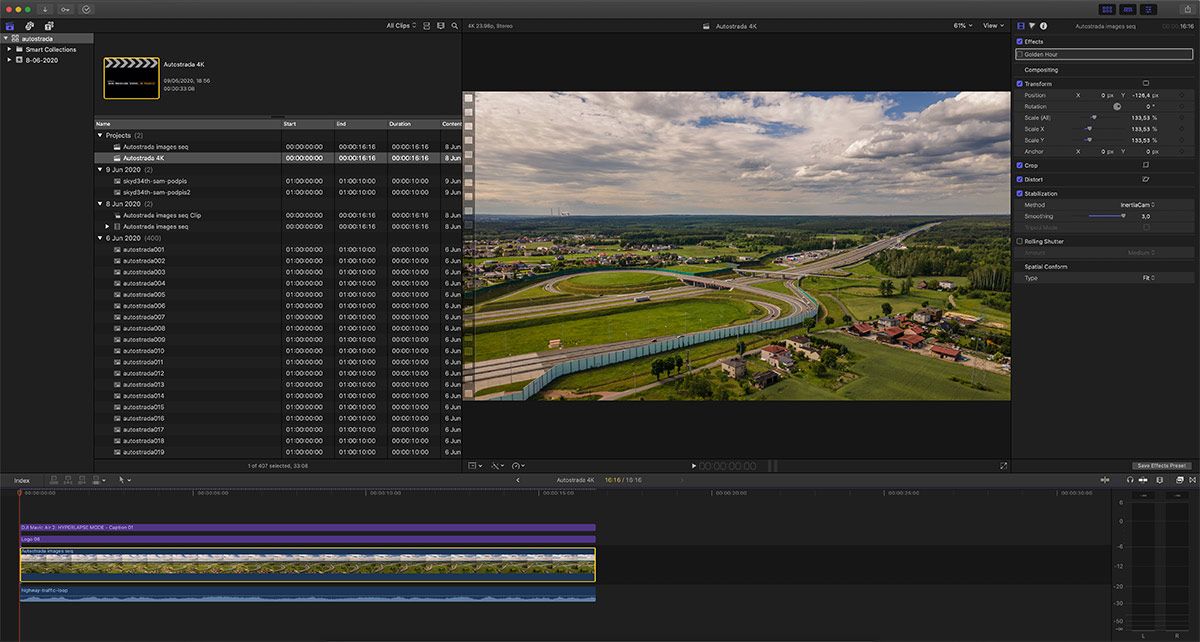
- Create new project in 4K (3840x2160)
- Drag and drop master file to timeline
- Right click on video preview and transform video to fill the entire project frame
- Select video in time line and select stabilization in video inspector section.
- You can add titles, logo and then drag and drop sounds or music in to the timeline
- Export video to You desire resolution or social media platform
How to do it?